Introduction
Electrical issues can strike at any moment—flickering lights, dead outlets, or mysterious tripped breakers. Knowing how to troubleshoot electrical problems at home can save you time, money, and frustration before calling a professional electrician. In 2025, with smart homes and advanced tools becoming more common, troubleshooting doesn’t have to be intimidating. This guide breaks it down into simple, actionable steps that anyone can follow, whether you’re a DIY newbie or a seasoned homeowner. Let’s dive in and empower you to tackle those pesky electrical hiccups safely and effectively.
Why Troubleshooting Electrical Issues Matters
Before we get into the how-to, let’s talk about why this skill is worth learning. Electrical problems aren’t just inconvenient—they can signal bigger issues like faulty wiring or overloaded circuits. Catching them early prevents costly repairs or even safety hazards like electrical fires. Plus, with energy costs rising in 2025, fixing inefficiencies can lower your bills. Ready to become your home’s electrical detective? Here’s how.
Step 1: Prioritize Safety First
Electricity isn’t something to mess with. Before you start troubleshooting, take these precautions:
- Turn Off the Power: Locate your breaker box and switch off the circuit you’re working on. If you’re unsure which breaker controls the area, shut off the main power.
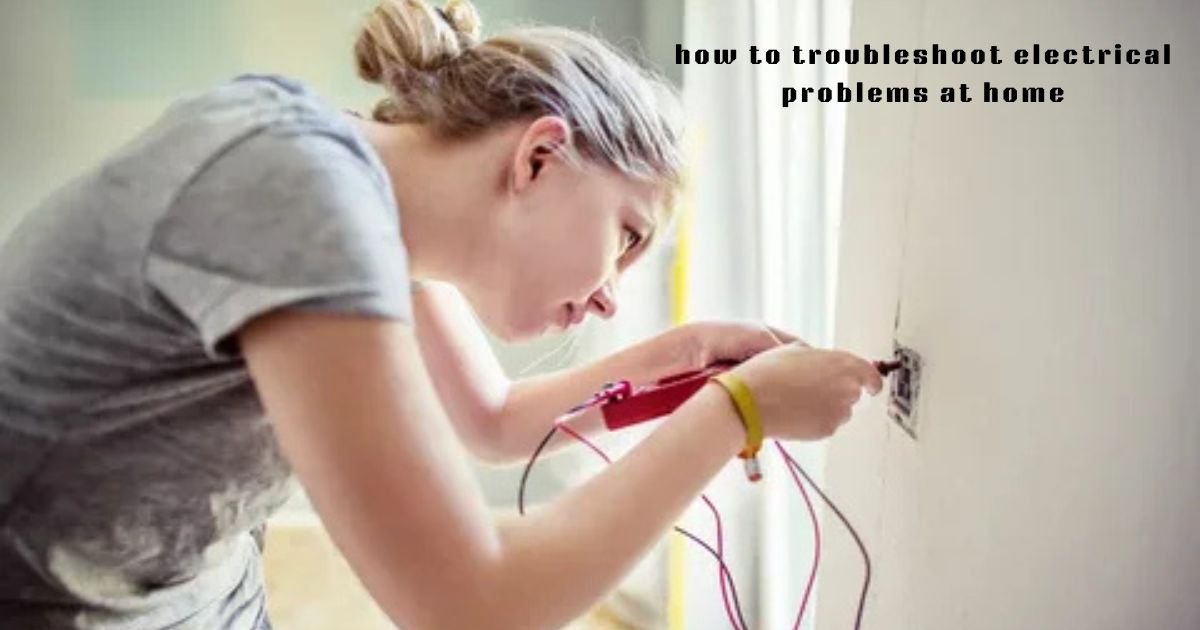
- Use the Right Tools: Grab a non-contact voltage tester (a must-have in 2025—affordable and widely available) to confirm the power is off.
- Wear Protection: Rubber-soled shoes and insulated gloves add an extra layer of safety.
- Avoid Water: Never troubleshoot near standing water or with wet hands.
Safety isn’t optional—it’s the foundation of every successful fix.
Step 2: Identify the Problem
Not all electrical issues are the same. Pinpointing the symptoms helps you narrow down the cause. Here are some common problems homeowners face:
- Flickering Lights: Could be a loose bulb, bad wiring, or an overloaded circuit.
- Dead Outlets: Might stem from a tripped breaker, a blown fuse, or a faulty outlet.
- Tripped Circuit Breaker: Often caused by too many devices drawing power or a short circuit.
- Buzzing Sounds: Could indicate loose connections or failing components.
Take a moment to observe. When did it start? Does it happen consistently or randomly? These clues guide your next move.
Step 3: Check the Basics
Sometimes the fix is simpler than you think. Start with these quick checks:
- Inspect Light Bulbs: For flickering lights, tighten or replace the bulb. In 2025, LED bulbs dominate—ensure they’re compatible with your dimmer switches if you use them.
- Reset the Breaker: Head to your breaker box. If a switch is in the “off” position or halfway, flip it fully off, then back on.
- Test GFCI Outlets: If an outlet’s dead, look for a nearby GFCI outlet (those with “test” and “reset” buttons). Press “reset” to see if power returns.
- Unplug Devices: Overloaded circuits trip breakers. Unplug everything on the affected circuit and test again.
These steps often resolve minor issues without breaking a sweat.
Step 4: Use Tools to Dig Deeper
If the basics don’t solve it, it’s time to play electrician. Here’s how modern tools make troubleshooting easier in 2025:
- Non-Contact Voltage Tester: Wave it near wires or outlets to detect live current without touching anything. Perfect for beginners.
- Multimeter: Measure voltage, current, or continuity. For a dead outlet, test if power’s reaching it—set it to AC voltage and probe the slots (with power on, carefully).
- Circuit Finder: This gadget (popular this year) plugs into an outlet and traces the breaker controlling it—no guesswork needed.
Pro tip: Label your breaker box as you go. Future-you will thank you.
Step 5: Investigate Common Culprits
Now that you’ve got tools and a plan, let’s tackle the most likely causes:
Loose Connections
- What to Check: Loose wires in outlets, switches, or breaker panels.
- How: With power off, remove the cover plate and tighten screws on wires. If they’re frayed or burnt, stop and call a pro.
Overloaded Circuits
- What to Check: Too many high-wattage devices (think space heaters or air fryers) on one circuit.
- How: Redistribute appliances across different circuits. In 2025, smart plugs can monitor usage—consider investing in one.
Short Circuits
- What to Check: Exposed wires touching or damaged cords.
- How: Inspect cords and plugs for wear. Inside walls? That’s a job for an electrician.
Faulty Devices
- What to Check: A single appliance causing the issue.
- How: Plug it into another outlet. If the problem follows, the device is the culprit—repair or replace it.
Patience is key here. Test one thing at a time to avoid confusion.
Step 6: Know When to Call a Professional
DIY troubleshooting has limits. If you encounter these red flags, it’s time to stop and dial an electrician:
- Burn marks or a burning smell near outlets or the breaker box.
- Sparks or shocks when plugging something in.
- Persistent issues after trying all steps.
- Anything involving the main panel beyond flipping breakers.
In 2025, electricians use advanced diagnostics like thermal imaging to spot hidden problems—worth the investment for complex fixes.
Step 7: Prevent Future Problems
Once you’ve fixed the issue, keep your electrical system humming with these habits:
- Upgrade Old Wiring: Homes built before the 1980s may have outdated systems. Consider a pro inspection.
- Balance Loads: Spread out power-hungry devices across circuits.
- Install Surge Protectors: Protect electronics from power spikes, especially with 2025’s wild weather patterns.
- Schedule Maintenance: Annual checks catch issues before they escalate.
Prevention beats troubleshooting any day.
Troubleshooting in the Smart Home Era
Living in 2025 means many homes have smart tech. If your lights or outlets are part of a smart system, add these steps:
- Check the App: Smart devices often log errors—review the app for alerts.
- Reboot the Hub: Unplug your smart hub (like Alexa or Google Home) for 30 seconds, then reconnect.
- Update Firmware: Outdated software can glitch. Check for updates in the device settings.
Smart homes make life easier, but they add a layer to problem-solving.
FAQs About how to troubleshoot electrical problems at home
1. What’s the first thing I should do when an outlet stops working?
Check your breaker box for a tripped circuit. If it’s fine, test nearby GFCI outlets and press “reset.”
2. Can flickering lights be dangerous?
Sometimes. Loose bulbs are harmless, but flickering from bad wiring or overloaded circuits could signal a fire risk—investigate further.
3. How do I know if my circuit is overloaded?
Frequent breaker trips or warm outlets are signs. Unplug devices and see if it stops.
4. Do I need special tools to troubleshoot electrical issues?
A non-contact voltage tester and a screwdriver are enough for basics. A multimeter is handy for deeper checks.
5. When should I replace an outlet instead of fixing it?
If it’s cracked, burnt, or loose despite tightening, replace it—or better yet, let a pro handle it.
Conclusion
Learning how to troubleshoot electrical problems at home doesn’t require a degree—just a methodical approach and a little courage. From flipping breakers to testing outlets, you now have the tools to tackle common issues like a pro. Start small, stay safe, and don’t hesitate to call in reinforcements for the big stuff. With this guide, you’re ready to keep your home powered up and stress-free in 2025 and beyond.